MIL-DTL-85/2F
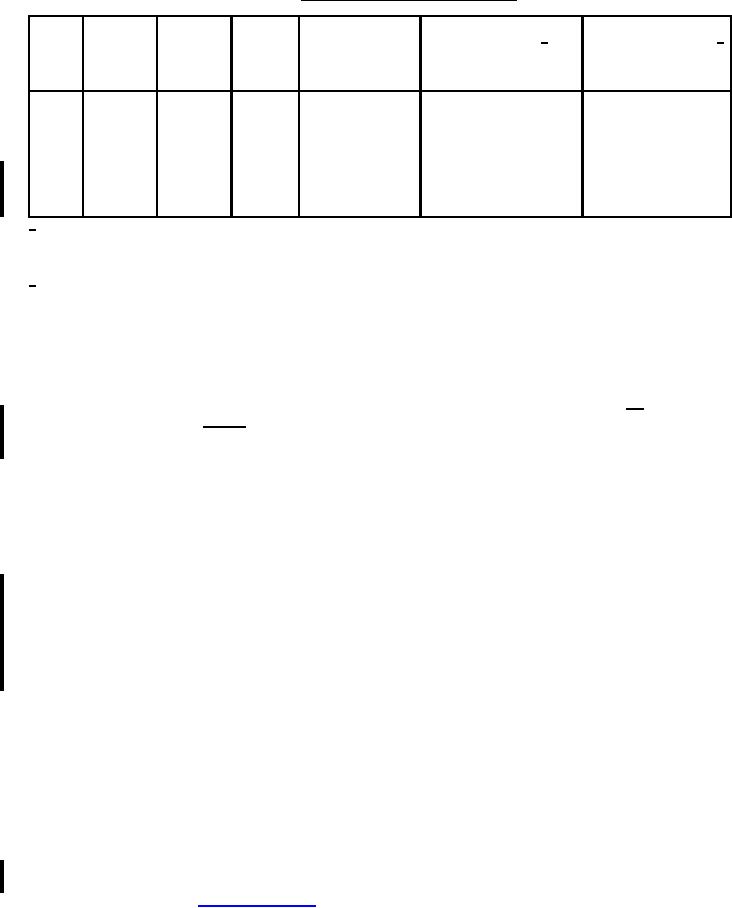
TABLE III. Cross index and engineering information.
Cutoff
AN
Frequency
Theoretical
Theoretical CW 1/
Theoretical peak power 2/
forTE10
PIN
type
attenuation lowest to
range (GHz)
power rating
rating lowest to highest
mode
M85/2-
designation TE mode
highest frequency
lowest to highest frequency
frequency (megawatts)
(GHz)
10
(dB/100 ft)
(kilowatts)
001-xxx RG-375/U 2.60 - 3.95
2.08
.950 - 0.651
14.56 - 21.25
7.645 - 10.85
002-xxx
---
2.60 - 3.95
2.08
1.116 - 0.764
12.39 - 18.08
7.645 - 10.85
003-xxx
---
3.95 - 5.85
3.155
1.785 - 1.238
5.637- 8.127
3.296 - 4.697
004-xxx
---
2.60 - 3.95
2.08
1.028 - 0.705
13.48 - 19.63
7.645 - 10.85
005-xxx
---
3.95 - 5.85
3.155
1.933 - 1.340
5.206 - 7.506
3.296 - 4.697
006-xxx
---
3.95 - 5.85
3.155
1.399 - 0.970
6.961- 10.05
3.296 - 4.697
007-xxx
---
7.05 - 10.0
5.780
2.779 - 2.159
2.382 - 3.006
1.284 - 1.702
008-xxx
---
8.20 - 12.40
6.560
4.339 - 3.003
3.314 - 4.788
0.758 - 1.124
009-xxx
---
8.20 - 12.40
6.560
4.339 - 3.003
3.314 - 4.788
0.758 - 1.124
1/ Based on H. E. King, "Rectangular Waveguide Theoretical CW Average Power Rating", IRE Transactions PGMTT-9,
pp. 349-357, July 1961. Assumes 1:1 VSWR, 30�C ambient air and 71�C waveguide temperature (governed by personnel
safety requirements). To calculate for other situations, see H. E. King.
2/ Based on considerations of breakdown varying with frequency and waveguide size as outlined in Gould and Gilden's
"Handbook of High Power Capabilities of Waveguide Systems" (available from Microwave Associates, Burlington, MA). For
practical applications, these values should be reduced by a factor of 5.
SAMPLING AND INSPECTION:
All waveguides of the same material and same cross section offered for delivery at one time shall be considered a
lot: N - pieces (lengths).
Inspection of dimensions and visual inspection of surface shall be performed on a sample of n = √2� (e.g., If N =
200 pieces, the sample n = √2 ∗ 200 = 20 pieces.)
The sample for profilometer measurement of surface roughness and eccentricity shall be 1 foot in length, cut from
either end of a selected length.
The lot shall be accepted or rejected in accordance with a zero defective sampling plan. Lots that fail shall be 100
percent inspected for the defect identified and then resampled.
Referenced documents. In addition to MIL-DTL-85, this document references the following:
MIL-PRF-3150
ASTM-B210
ASTM-B372
The margins of this specification sheet are marked with vertical lines to indicate where modifications from this revision
were made. This was done as a convenience only and the Government assumes no liability whatsoever for any
inaccuracies in these notations. Bidders and contractors are cautioned to evaluate the requirements of this document
based on the entire content irrespective of the marginal notations
Custodians:
Preparing activity:
Army - CR
DLA - CC
Navy - EC
Air Force - 85
(Project 5985-2014-013)
Review activities:
Army - AR
Navy - AS, MC, OS
Air Force - 99
NOTE: The activities listed above were interested in this document as of the date of this document. Since
organizations and responsibilities can change, you should verify the currency of the information above using the
ASSIST Online database at https://assist.dla.mil/.
3